
The cabinet beneath your kitchen sink is rarely anyone’s favorite part of the room.
It holds cleaning products, spare sponges, and things that never found another home.
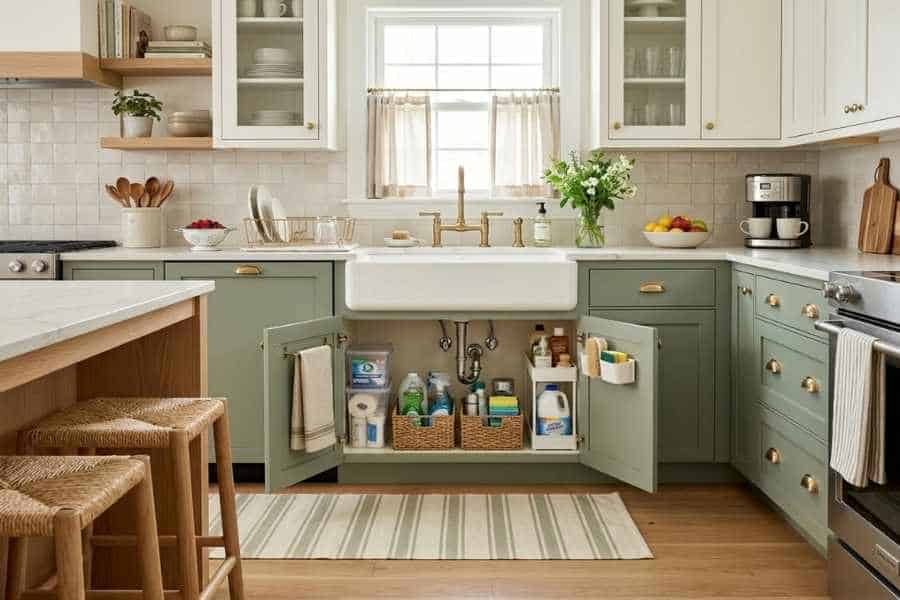
Its doors may match your carefully styled kitchen, while the space behind them feels unfinished.
I think that makes it a satisfying target for a small makeover.
A fresh finish and better storage can change how the area looks and works, and even how it feels each time you reach for a dish towel.
In a Wheelers Hill home, though, I’d make the first step looking past the clutter.
Paint or a new liner should go onto a cabinet that’s dry and solid.
Empty the Cabinet before Choosing a Finish
Take everything out, including items tucked behind the pipes.
Wipe the cabinet base so you can see it clearly.
A cabinet that looked just untidy may show staining or a swollen edge once it’s empty.
Check what deserves to go back.
I’ve noticed several half-empty bottles of the same cleaner take up space without making chores easier.
Group the products you use regularly, and keep them in their original labeled containers where children can’t reach them.
That kind of editing is the same habit that makes your open shelves and countertops feel calm, just applied behind a closed door.
Measure the usable floor area, allowing for pipes, hoses, and fittings at the back.
A basket that fits the cabinet’s outer dimensions may still block a valve or keep the doors from closing.
Keep the measurements with you when shopping.
Read the Marks Before You Cover Them
A ring beneath a bottle may be an old spill, while a damp patch near a connection may point to an ongoing problem.
Feel the cabinet base, look for swelling, and check whether the back panel has changed color.
If you find moisture, I’d wait before painting or applying a liner.
Dry the area, then watch what happens during normal sink use without touching the fittings.
Note whether water appears when the faucet runs or when the sink drains.
A photo and a clear description will help a repairer more than your guess about which pipe is responsible.
For a persistent leak, Wheelers Hill homeowners searching for plumber Wheelers Hill, Melbourne may find Lexity’s local service page.
The company describes work on leaking faucets, pipes, and drains, including finding the source of water that isn’t immediately visible.
Fixing the issue first gives your decorating work a solid starting point, so the pretty finish you choose actually lasts.
Give the Cabinet Time to Dry
Once the source of moisture has been fixed, inspect the cabinet again.
A surface can feel dry on top while a panel or joint at the back stays damp.
Check whether the material has softened or lost its shape.
Victoria’s Better Health Channel advises identifying and controlling the source of moisture when dealing with mould, including checking for plumbing leaks.
I think the same idea applies here too, since covering a damp surface won’t fix what made it wet.
If there’s extensive damage or mold, find out what needs repairing before you continue.
A kitchen only feels truly fresh and welcoming when the air and surfaces in it are healthy, not just the parts your guests can see.
A solid cabinet can then be cleaned and prepped for its new finish.
Follow the product instructions for your particular material.
A base that’s crumbling or has lost its strength may need repair or replacement instead of paint.
Make the Interior Worth Opening
A clean, light interior makes it easier for you to see stored items and notice a future drip.
I like white or a soft neutral beneath wood or painted kitchen cabinetry, since it doesn’t introduce another strong color.
There’s a quiet pleasure in opening a door and finding the inside as cared for as the outside, and it’s the kind of detail that makes a home feel thoughtfully kept.
A removable liner can make cleaning easier, as long as the surface beneath it is dry.
Choose one you can lift to inspect the base.
Permanent adhesive covering may look neat but can make a new stain harder to see.
If you paint, think about how much wear each surface gets.
The base will be scraped by bottles and baskets, while the side panels may need only a careful refresh.
Let the finish cure as directed before you load the cabinet again.
Store Things around the Plumbing
I find under-sink storage works best when the fittings stay easy to reach.
A shallow basket at the front can hold your most-used products, while another can group spare cloths.
Both should be easy to lift out.
Woven or matching bins in a soft tone that echoes your kitchen can make this hidden spot feel like part of the room’s design.
Avoid packing items tightly around connections and valves.
You should be able to see beneath the sink and reach anything that needs attention without unloading fitted organizers.
Easy access is part of a useful storage plan.
A door-mounted holder may free up floor space, but check the clearance and door thickness before installing it.
Keep the weight modest so the hinges don’t have to support several heavy bottles.
I think the best organizer makes your cabinet calmer without hiding the plumbing.
Refresh the Doors without Rebuilding the Kitchen
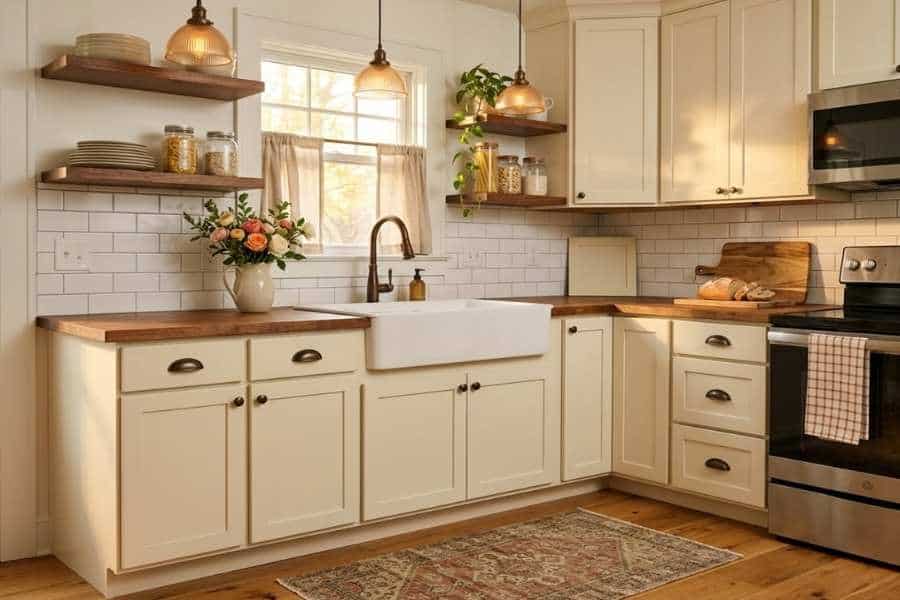
Look at your cabinet doors in the context of the whole kitchen.
If their finish is solid but dated, new handles may be enough.
If the paint is worn, repainting sturdy doors can tie the cabinet back into the room.
Choose a color that works with your countertop, sink, and flooring.
Warm wood details may suit a gentle cream or muted green, while a cooler palette might look best with off-white.
I’d test a sample in morning and evening light.
The sink area is where you rinse berries, fill a vase, and wash up after friends leave, so it deserves a color you enjoy seeing at every hour.
Check how the doors work as well as how they look.
Doors that rub or don’t close will still frustrate you after painting.
Adjusting the right hardware can make your finished cabinet nicer to use.
Enjoy a Pretty Under-Sink Cabinet That Stays Easy to Maintain
The final test is an ordinary week of kitchen use.
Can you find a cloth quickly, remove a basket to wipe the base, and see whether moisture has appeared?
I’d say a makeover succeeds when those tasks get easier.
Check the cabinet now and then as you put things away.
A quick look at the base and connections can help you notice a change early.
Leave room for that glance instead of filling every inch.
Clear the cabinet, fix any moisture, choose finishes that suit your kitchen, and organize around fittings that need to stay accessible.
Your doors can then close on a space that looks better and works better, with nothing important hidden behind the makeover.

Leave a comment