
If you’ve ever saved a photo of a designer patio and then priced out the furniture in it, you know how fast the dream can start to look like a down payment.
I’ve been there, and the good news is that much of that polished look comes from styling choices you can copy for a fraction of the cost.
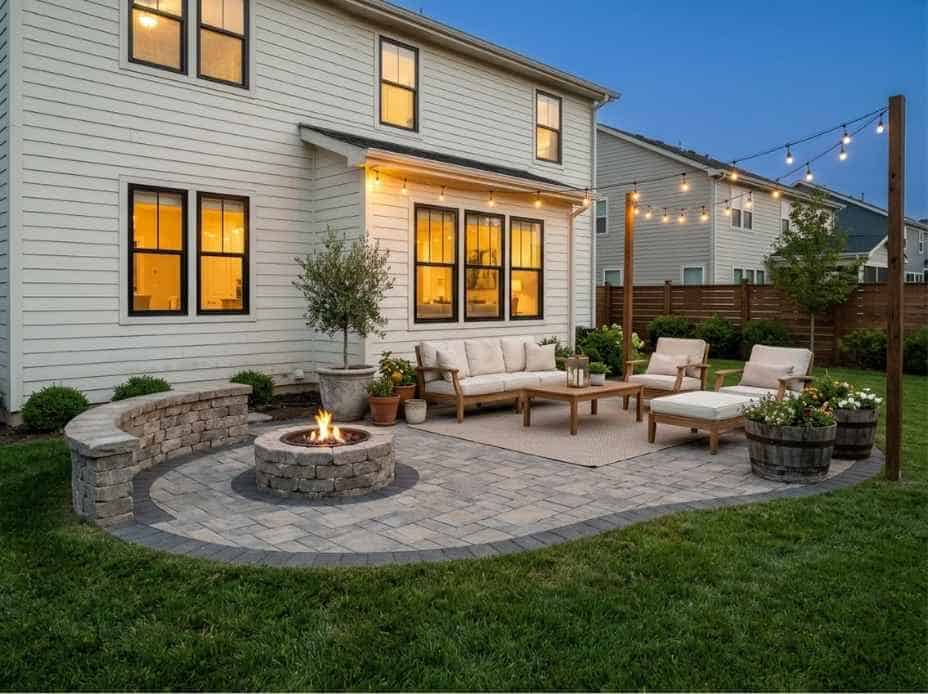
The less exciting news is that a few parts of a patio are hard to fake.
Knowing which is which lets you spend where it counts and have fun with the rest, so your patio feels like an outdoor room you actually want to use.
What Actually Makes a Patio Look Expensive
Look closely at the outdoor spaces that stop you mid-scroll, and you’ll notice the same handful of ideas keep showing up.
Most of them cost very little.
- A tight color palette. Two or three main colors repeated across your cushions, planters and accessories make everything feel planned and pulled together, the same way a cohesive palette calms a living room.
- Oversized planters. One or two large pots look far more high-end than a cluster of small ones, and I love that thrifted or resin versions can pass for stone from a few feet away.
- An outdoor rug. It defines your seating area the way a rug does indoors, feels warmer underfoot and hides a less-than-perfect surface underneath.
- Layered lighting. String lights overhead, lanterns on the table and a few solar uplights on plants create depth after dark and give your guests a reason to linger.
Each of these is easy to DIY, swap out or upgrade later.
That flexibility is exactly why I think they’re the right place to save money.
Save on Styling, but Take the Surface Seriously
The patio itself is a different story.
A cracked slab, wobbly pavers or a surface that sends rainwater toward your house will spoil even the most carefully styled space, and those problems tend to get worse over time.
It’s hard to relax over an outdoor dinner when your chair keeps rocking on a loose paver.
Most guides to patio renovations begin with the same unglamorous step, which is checking the slope, the drainage and the base under the visible surface.
I’d read through that process even if you plan to hire help, because it shows how much of a lasting patio is hidden underground.
- Reasonable DIY territory. Painting or staining an existing concrete slab, resetting a few loose pavers, adding gravel borders and building a small paver landing on well-drained ground.
- Often better left to a pro. Pouring new concrete, laying a large paver patio, fixing drainage and anything involving grading near your foundation.
DIY can work here.
It saves you money upfront, but if the base isn’t compacted well, you may end up redoing it in a few seasons, which wipes out the savings.
When a Custom Layout Is Worth the Splurge
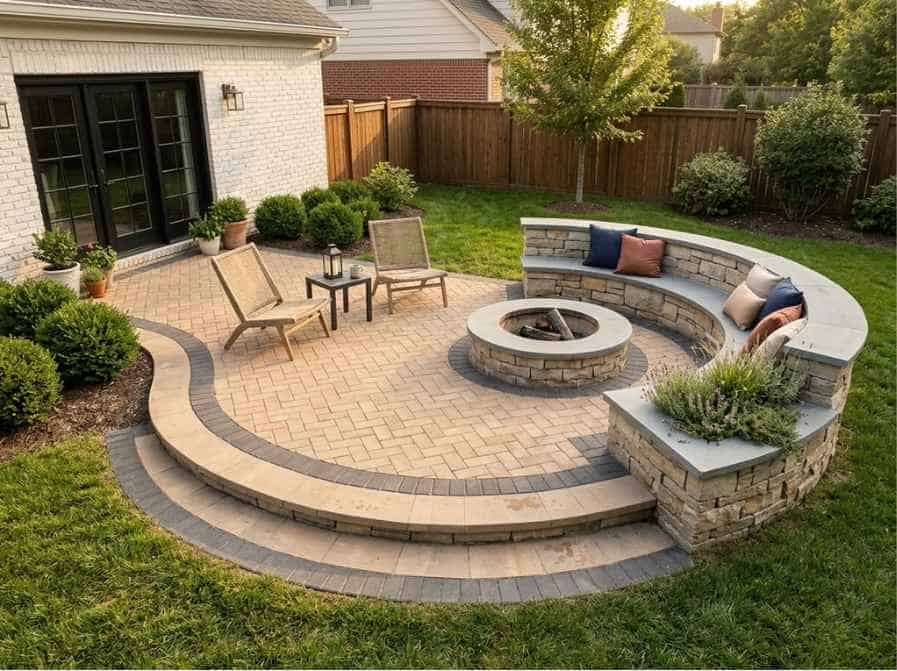
Here’s where the knockoff approach gets interesting.
The details that make a professionally designed patio feel special are often structural, like a gentle curve instead of a plain rectangle, a built-in seat wall around a fire pit or a contrasting border that frames the whole space.
You can’t add those with a trip to the home store.
I especially love a seat wall, because it gives everyone a natural place to gather around the fire without you dragging out extra chairs.
That’s why some homeowners choose custom patios for the permanent elements and keep everything else budget-friendly.
A shaped layout with one built-in feature gives you the expensive bones, while the cushions, rugs and planters on top stay cheap and easy to change as trends move on.
The trade-off is cost and commitment.
A custom patio usually costs more than a standard slab, and the shape you choose will be there for many years.
I’d mock up the outline first with a garden hose or spray chalk and live with it for a week before deciding.
Set a few chairs inside it with your morning coffee to see how the space really feels.
Splurge on What Stays, Save on What You Can Swap
Grab a notebook and draw two columns.
In the first, list the things that would be hard or costly to change later, such as the surface, the shape and any built-ins.
In the second, list everything you could replace in an afternoon, from pillows to planters.
Put your budget toward the first column, then have fun hunting down lookalikes for the second.
That’s how I like to think of it, with solid bones that welcome people for years and styling that lets your patio change with each season.

Leave a comment