
Raised-bed gardening makes it easier for you to manage soil quality, organize plants, and keep weeds under control.
But watering can still become a daily chore, especially when several beds are spread across your yard.
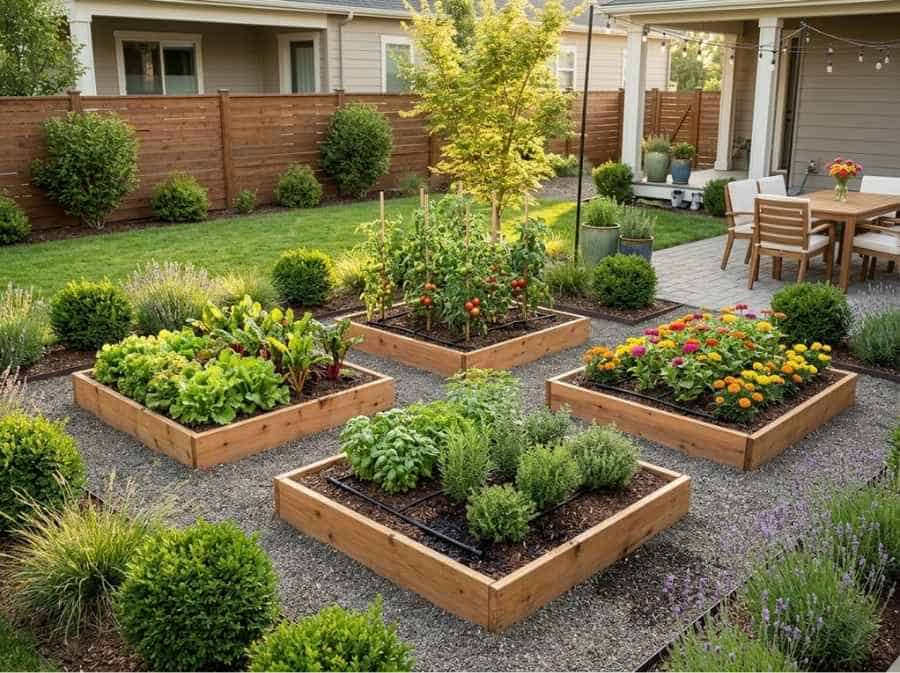
Carrying a hose from one bed to another might work for a small garden, but it’s not always practical as the growing season goes on.
Some plants end up getting too much water, others dry out between watering sessions, and a surprising amount of water can be lost on pathways or surrounding surfaces.
I’ve also seen a dragged hose flatten edging plants and leave muddy tracks through a garden that’s otherwise looking its best.
A thoughtfully planned irrigation system can make a noticeable difference.
With the right tubing, connections, and watering controls, you can spend less time managing hoses and more time enjoying your garden.
For me, that’s the whole point of a backyard: a place to linger with your morning coffee or share an evening with friends, not another chore list.
Why Drip Irrigation Works Well for Raised Beds
Traditional sprinklers spread water over a fairly large area, which isn’t always ideal for raised beds.
Much of that spray may land outside the planting area, especially on windy days.
Drip irrigation takes a different approach.
Instead of spraying water into the air, it delivers small amounts directly to the soil through tubing fitted with emitters.
This lets moisture reach plant roots gradually while cutting down on extra water on your walkways, bed frames, and surrounding landscaping.
I love this for looks, too, since wood bed frames stay free of water stains and your gravel or stone paths stay neat and dry for anyone strolling through.
For a typical raised vegetable bed, you can arrange drip tubing in parallel rows across the soil surface.
The spacing depends on the bed’s width, soil type, and what you’re growing.
A bed planted with leafy greens, for example, may benefit from closer drip-line spacing than one with widely spaced tomato plants.
Drip irrigation also keeps much of the foliage dry, which can help reduce conditions that encourage certain plant diseases.
It won’t solve every watering concern, but it gives you more control than a typical overhead sprinkler.
Healthier leaves mean fuller, greener beds, and that’s what makes a raised-bed garden look lush instead of patchy.
Start with a Reliable Water Connection
Before you lay out irrigation tubing, it’s worth looking at where the water will come from.
Many backyard systems connect directly to an outdoor hose bibb.
For a garden with multiple raised beds, a main supply line can carry water from the faucet to a series of smaller distribution lines.
This setup saves you from having separate garden hoses running to every bed.
I think that alone makes a yard look calmer, since there’s no tangle of hoses crossing the lawn when you have guests over.
The connections between the faucet, main tubing, and individual drip lines are especially important.
Poorly fitted adapters or mismatched tubing sizes can lead to leaks, disconnected lines, and uneven watering.
Homeowners planning a custom setup can explore plumbing connectors, fittings, and shut-off valves from PlumbingSell when organizing their water supply connections.
Any components used should be compatible with the tubing material, connection sizes, and intended operating pressure.
An irrigation system connected to your household drinking water supply also needs proper backflow protection.
This keeps potentially contaminated irrigation water from being drawn back into your home’s drinking water.
Your local codes should guide how you choose and install these devices.
Don’t Overlook Water Pressure
One of the more common mistakes I see in DIY garden irrigation is connecting drip tubing directly to an outdoor faucet without thinking about pressure.
Household water pressure is often higher than what low-pressure drip components are designed to handle.
Too much pressure can cause connections to separate, damage lightweight drip tape, or throw off the flow through your emitters.
A pressure regulator helps keep your system at a suitable operating pressure.
The right setting depends on the tubing and emitters you’re using, so it’s important to follow the manufacturer’s specs.
Filtration matters, too.
Because drip emitters have small openings, dirt, sediment, and other particles can slowly clog them.
A properly chosen filter installed near the water source helps protect your tubing and emitters.
It should also be easy to reach for occasional cleaning.
I like to tuck the regulator and filter behind a potted plant or a decorative planter so the faucet area still looks tidy.
These small parts can save you a lot of frustration later, especially in gardens with long tubing runs or multiple beds.
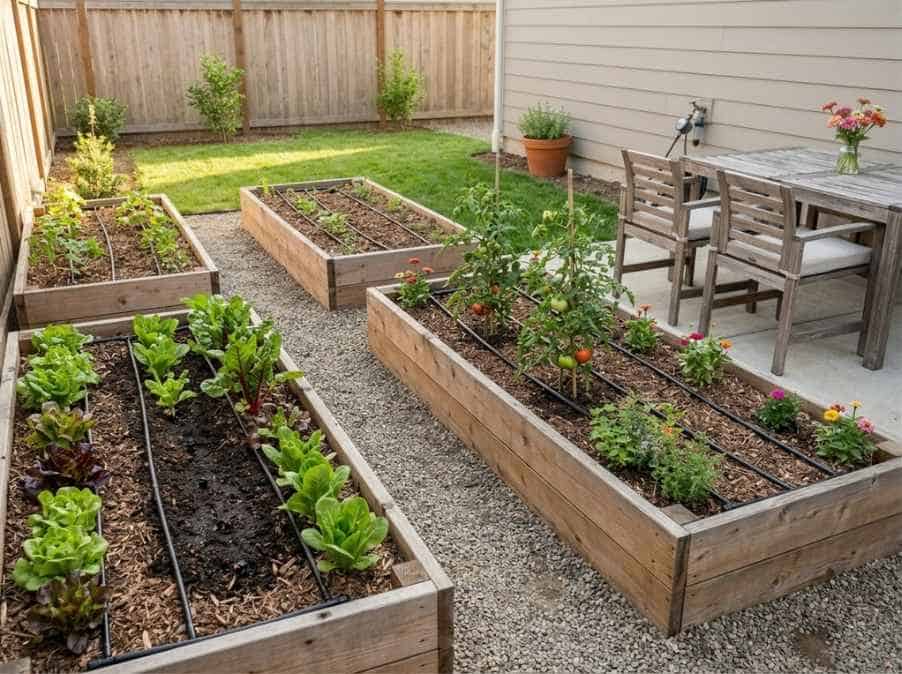
Give Different Plants Their Own Watering Zones
Not every raised bed needs the same amount of water.
A bed filled with lettuce and spinach may need different moisture levels than one growing established peppers or tomatoes.
Sun exposure, soil makeup, and plant maturity also affect how quickly a bed dries out.
Connecting every bed to a single irrigation line without any individual control can make it hard to handle those differences.
A more flexible approach is to divide your garden into separate watering zones.
For example, beds with similar crops can share a zone, while beds with different watering needs can run independently.
I find this opens up your design options, too, since a bed of cutting flowers or herbs near the patio can get its own schedule and look its best for outdoor dinners.
A distribution manifold with individual valves lets you send water to selected areas without disconnecting hoses or rearranging tubing.
For larger gardens, separate irrigation circuits can also help manage total water demand when your supply can’t support every drip line at once.
The goal isn’t to make a backyard system overly complicated.
It’s to give you enough control to water plants according to their needs.
Small Shut-Off Valves Make Maintenance Easier
Shut-off valves are especially useful in gardens where your planting arrangements change throughout the year.
A raised bed might hold vegetables in spring, sit empty during part of summer, and get replanted with cool-season crops later.
Without individual controls, water may keep flowing through lines serving beds that no longer need it.
That can turn a resting bed into a soggy, weedy patch right when you want the rest of your garden looking fresh.
Installing a small compatible valve at each bed or branch connection lets you stop water flow to an unused section.
It also makes maintenance simpler.
If a drip line springs a leak or needs replacing, you can isolate that section while the rest of the system keeps running.
For gardens you like to rearrange often, removable connectors and easy-to-reach valves make seasonal changes much more convenient.
I love that freedom, because swapping in spring tulips, summer zinnias, or fall kale lets your garden change with the seasons the way your porch decor does.
Reduce Water Waste with Better Placement and Timing
Even an efficient drip system can waste water if it’s poorly arranged or runs longer than needed.
Start by placing drip lines where they can actually reach plant roots.
Tubing installed too far from the planting rows may leave parts of the root zone dry, while closely packed lines can deliver more water than you need.
Adding mulch over the soil can help reduce surface evaporation and keep moisture more consistent between watering sessions.
I like that mulch also hides the tubing, so your beds look clean and finished.
Shredded bark, straw, or pine needles each give your beds a slightly different look, so you can pick one that suits your garden’s style.
A simple hose-end timer is another handy option.
Instead of remembering to turn the faucet off yourself, you can schedule watering sessions around your garden’s needs.
It also means your garden stays watered while you’re away for a weekend, so you come home to fresh blooms instead of drooping leaves.
Automatic watering shouldn’t mean using the same schedule all season, though.
A newly planted bed may need different watering intervals than an established one.
Rainfall, temperatures, and soil conditions also change how much water you’ll need.
Checking soil moisture a few inches below the surface now and then gives you a better read on watering needs than judging by looks alone.
It’s also worth watching the system while it runs.
Leaky connections, clogged emitters, and damaged tubing can easily go unnoticed when watering is automated.
Build a System That’s Easy to Adjust
Raised-bed gardens rarely stay exactly the same from one season to the next.
Plants rotate, new beds get added, and watering needs change.
That’s why I’d build flexibility into your original irrigation plan.
Leaving accessible connections, using compatible tubing sizes, and placing valves where they’re easy to reach can make future changes far less frustrating.
If you live in a freezing climate, follow the manufacturer’s instructions for draining and protecting your irrigation parts from freeze damage before winter.
Spend Less Time Watering and More Time Enjoying Your Backyard
A well-planned raised-bed irrigation system doesn’t need to be elaborate or expensive.
Reliable hose connections, the right pressure control, separate watering zones, and well-placed drip lines can make a big difference.
With those basics in place, watering becomes an easier part of your garden routine instead of another daily task competing for your time.
I think that’s when a backyard really starts to feel like an extension of your home, with time to gather, relax, and simply enjoy what you’ve grown.

Leave a comment