There’s something deeply comforting about the look and feel of raw timber.
The log cabin aesthetic — once reserved for mountain lodges or bushland retreats — is now making its way into suburban and even urban homes.

Why?
Because natural textures, earthy tones, and that handcrafted feel bring a sense of warmth and grounding that modern finishes often can’t replicate.
Whether you’re renovating a weatherboard home or building from scratch, raw timber accents offer a powerful way to evoke the spirit of the forest.
This article will give you a high-level guide on how to incorporate log-style siding into your home’s design, especially if you’re keen to get hands-on with the process.
From tree to wall, we’ll walk you through the basics of creating your own rustic timber cladding.
Creating Your Log Cabin Siding
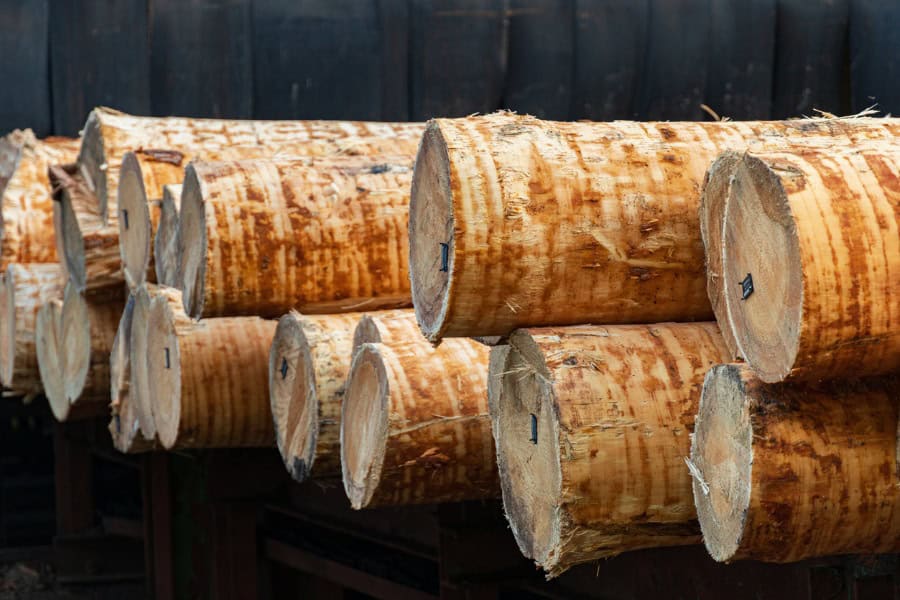
If you’re lucky enough to have access to forested land or even just a few mature trees on your property, you may already be holding the raw materials for your new siding.
Trees like cedar, cypress, pine, and even some eucalyptus are commonly used in rustic home design.
Each has its own character — cedar resists rot and pests, pine is easy to work with and readily available, and cypress offers beautiful grain with good durability.
Harvesting the timber requires careful selection — avoid diseased or overly knotted logs — and cutting them to rough lengths.
This is where many DIYers get their first taste of the transformation process.

Cutting raw logs requires both patience and the right tools. A chain saw is the go-to here, allowing you to section tree trunks into manageable lengths.
When using one, always wear eye and ear protection, chaps, gloves, and steel-capped boots.
Felling trees and handling heavy logs can be dangerous, so never work alone and always assess your surroundings before cutting.
Safety first is the golden rule. Make sure your equipment is in good condition, keep your footing secure, and follow best practices for cutting angles and log handling.
Once you’ve got your logs cut to length, it’s time to prepare them for installation.
Preparing and Installing the Logs
Raw logs aren’t ready to be nailed to a wall straight after they’re cut — they need to be shaped, smoothed, and sometimes hollowed to sit flush against existing surfaces.
The first step is planing, which removes bark and begins to expose the natural grain beneath.
You can use a drawknife or an electric planer, depending on your preference and the look you’re after.
Next comes moulding — for many DIYers, this means flattening the back side of the log so it can sit snug against a flat surface, or cutting a tongue-and-groove profile for tighter joins.
Some people choose to hollow the log backs slightly (a process called “scribing”) so they hug the contours of existing walls more naturally.

Once moulded, the logs are sanded to smooth the outer face. Many homeowners leave tool marks and imperfections for a more rustic feel, but you can also sand them down for a cleaner, more polished finish.
If the timber is green (not fully dried), allow it time to season before installing — this helps prevent warping and shrinkage later on.
When you’re ready to install, fix the logs to your wall using galvanised screws or spikes, depending on the log’s thickness and the material beneath.
Some builders also use construction adhesive for added grip. Start from the bottom and work your way up, checking that each log is level and flush before attaching the next.
It’s a bit like laying bricks — only a lot heavier.
For design, consider how tight or spaced you want the logs to be. You might prefer tight stacking for an enclosed cabin feel, or wider gaps to show off a coloured wall beneath.
Alignment matters too — keep edges consistent for a refined look, or stagger them for something more natural and organic.
The Finishing Touches
Raw timber looks stunning on its own, but it does need protection. After installation, apply a sealant or stain that enhances the grain while guarding against weather and UV damage.
Clear finishes let the natural tones shine through, while darker stains can add depth and age to the look.
Make sure your sealant is rated for exterior use if you’re cladding outside walls.
Accent lighting can dramatically enhance the effect — especially at night.
Consider warm uplights at the base of your timber siding or pendant lights that cast soft shadows over the grain.

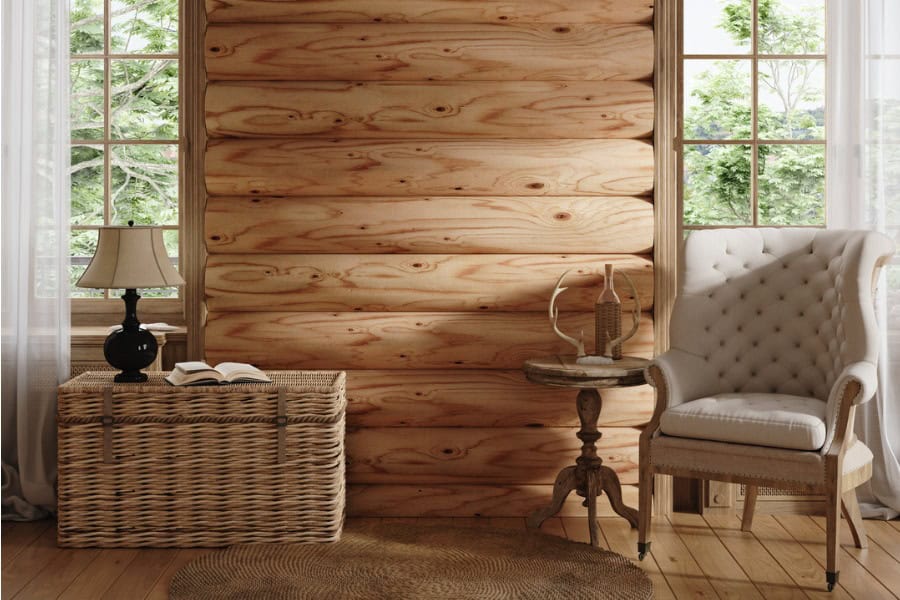
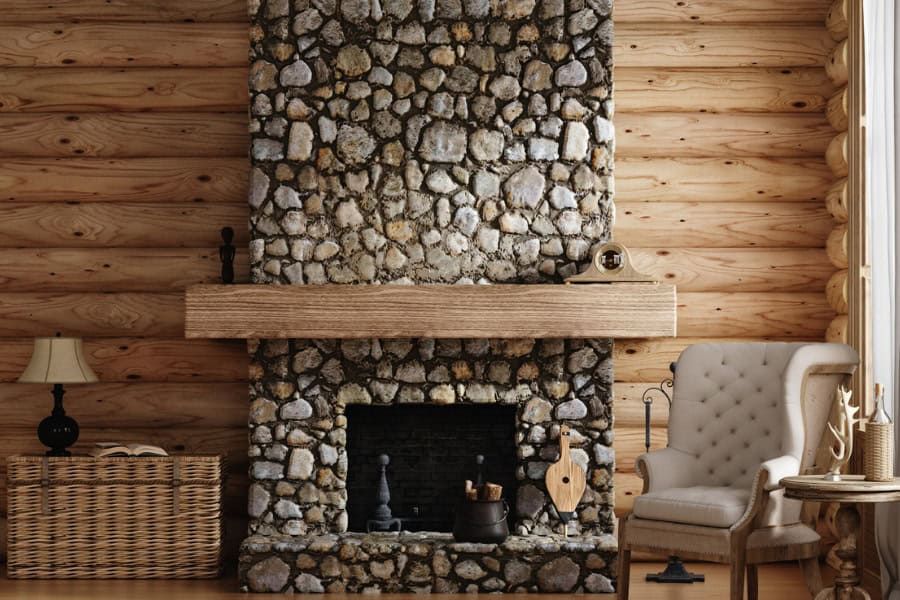
Inside the home, timber cladding works well in entryways, behind fireplaces, or along feature walls in living rooms.
Outside, it brings character to sheds, verandas, and facades. You can also use leftover log slices as decor — think stools, tables, or even stepping stones in the garden.
Bringing the forest home is more than just a design choice — it’s a lifestyle. It means stepping away from sterile, manufactured finishes and embracing texture, imperfection, and nature.
Whether you’re doing a small corner of your home or revamping your whole exterior, raw timber accents invite a connection to the outdoors that never goes out of style.
With the right tools, a bit of planning, and a willingness to get your hands dirty, even an ordinary house can start to feel like a cosy cabin tucked deep in the woods.
